How to build your own worm composter
On Monday night I went down to the old re-purposed high school that is the FoodShare headquarters for a fun and informative night on how to best get worms to eat your garbage. And those little suckers can EAT.
In a build-your-own worm tower workshop lead by former horticultural teacher and Norfolk County spokesman Dave Zeldon, we built vermicomposting (that means worms do the composting) towers that (at full capacity) can process 5-8 pounds of food per week and will house up to 12,000 worms.
Dave brought one of his own worm tower composters as an example. It is 6 years old and eats up the scraps for his whole family of five. Emily from FoodShare told us that worm composting has been going on in the city for years, but tower composting is relatively new.
We didn't learn a lot about the science behind vermicomposting, but I think that was the point. The indoor system we built is easy to use, relatively compact, and doesn't require a lot of upkeep or mixing like traditional composters. The worms do most of the work for you.
Dave tinkered with worm composting for years before finding the tower system. Originally, Dave's worms were dying because there was no drainage for the "compost tea" and it was getting too hot and moist for the little wrigglers.
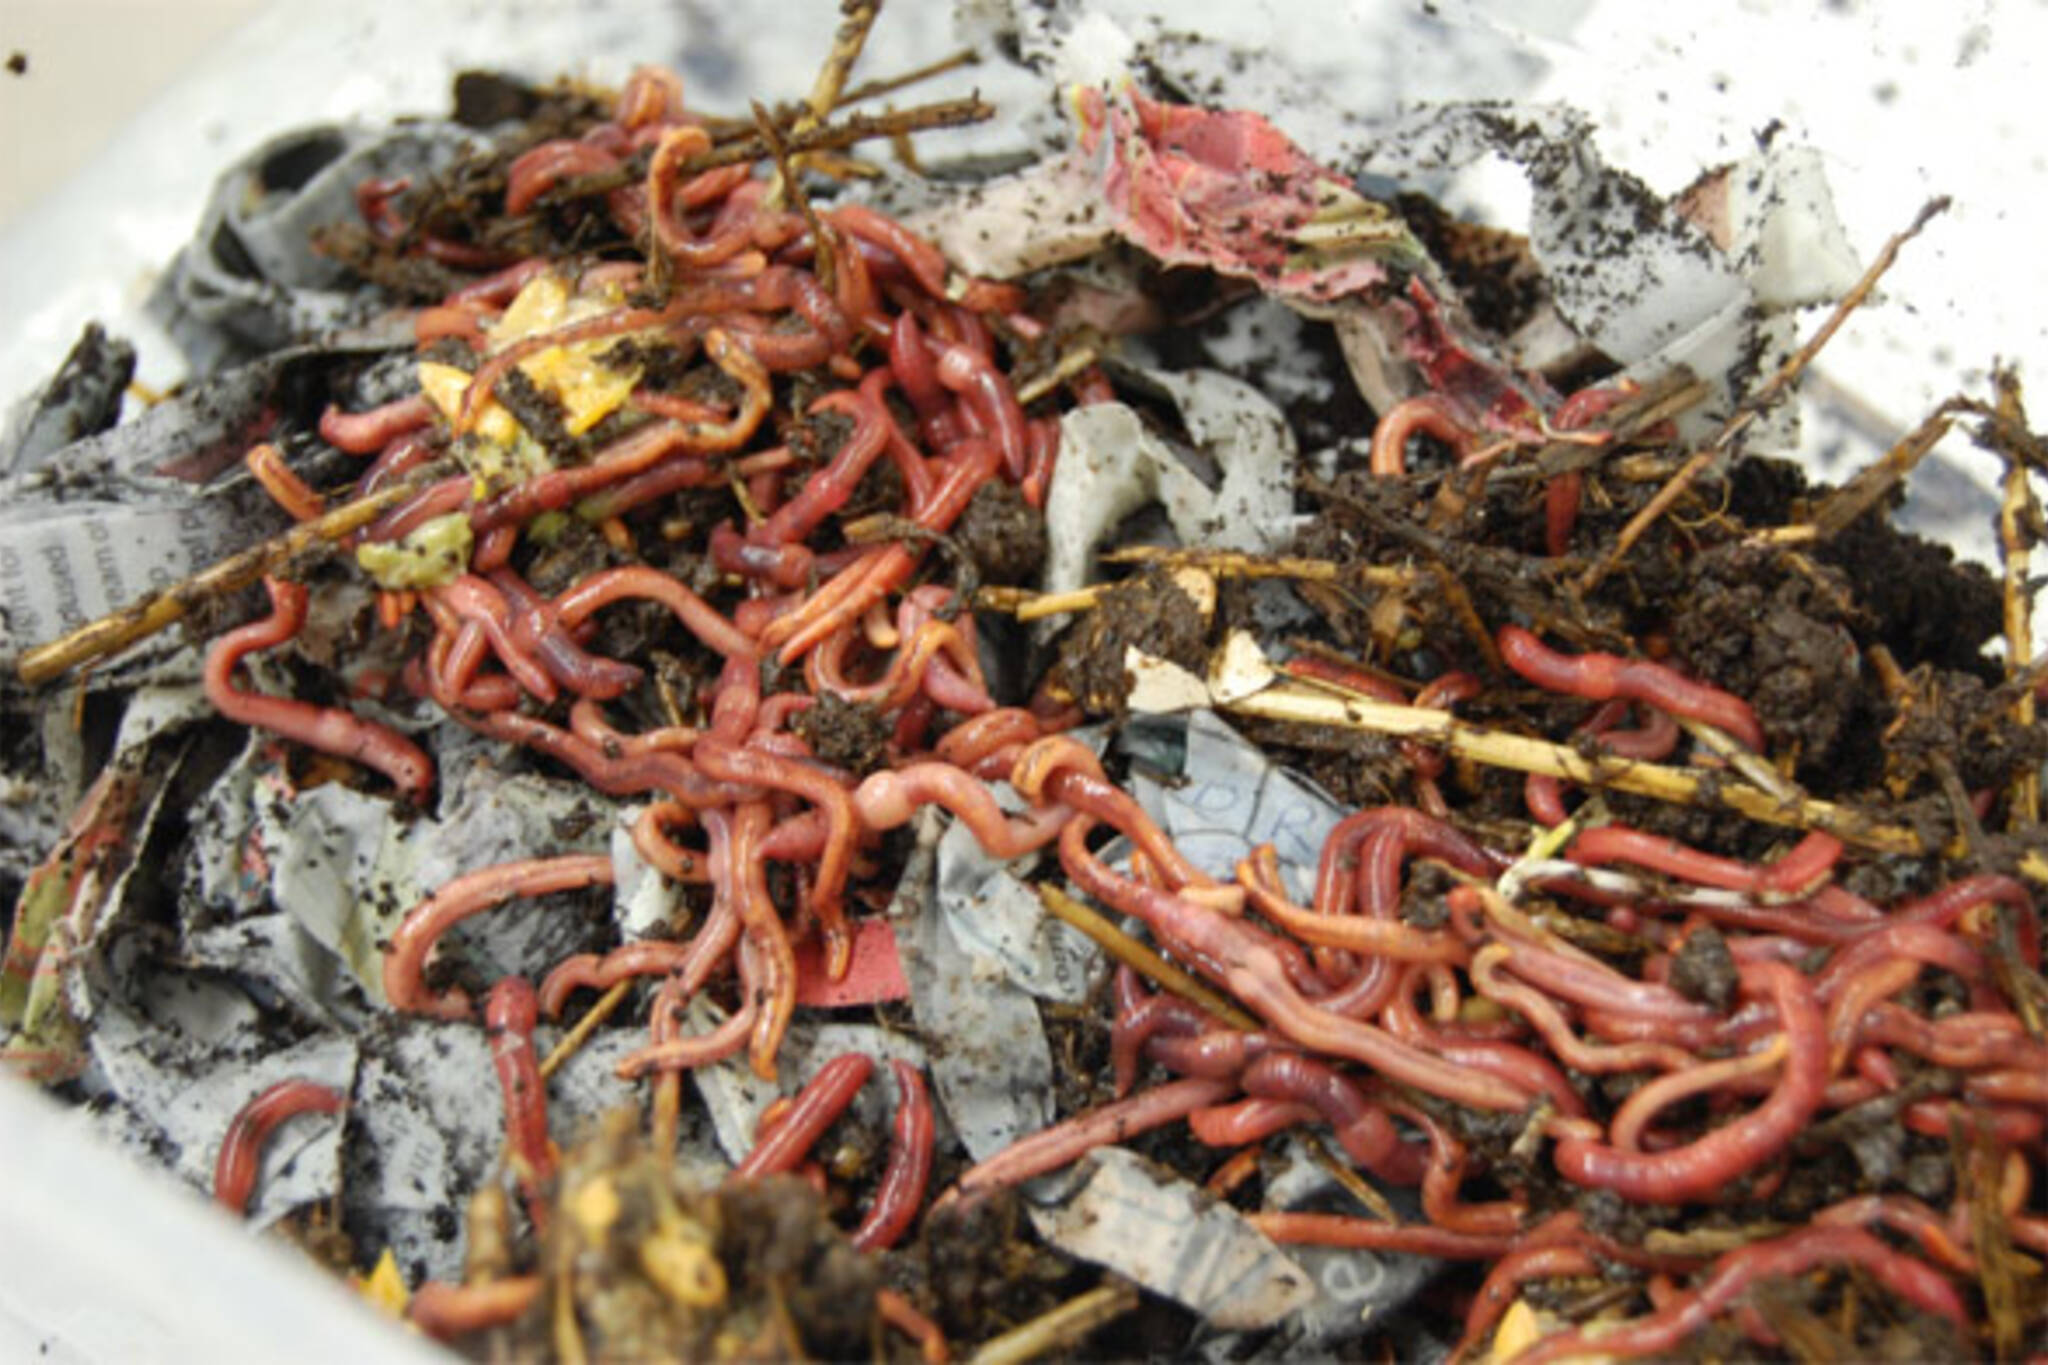
Eventually he learned that the worms commonly used for composting (Epigeic worms, often red worms) like to move up to their next food source, hence why a tower system where they can crawl up to the next layer works so well.
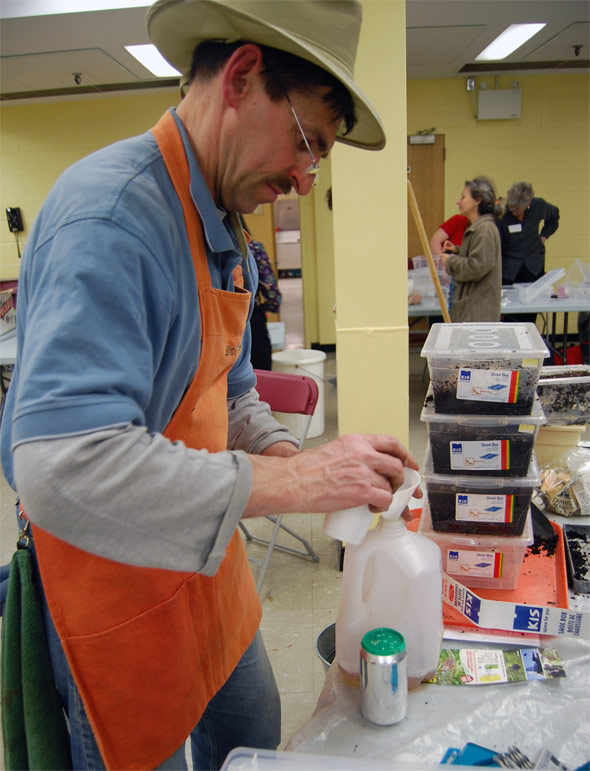
It was a fairly straightforward workshop, after a brief intro we got to building the towers, which involved drilling holes into plastic shoe boxes (the most time consuming part) and then filling the first layer with bedding, worms and a little starter food. Dave brought melon peels because he's found it's what they like to eat best.

The whole kit can be built for what I estimate to be about $30-$40 and the only special equipment you need is a drill, a 2 Âź inch hole saw, and a homemade jig (a wooden pattern for sawing). Dave has been using the KISS shoebox system sold at Canadian Tire for years. Then all you need are your red worms, some wet newsprint and food.
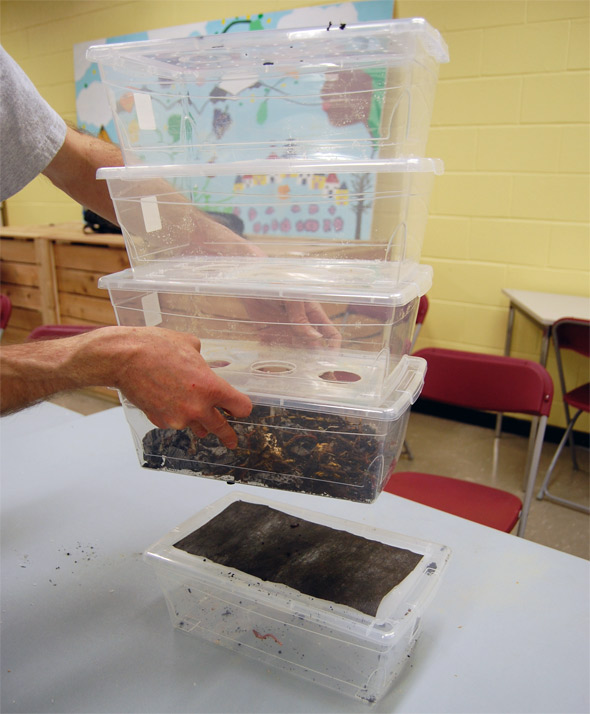
The towers we made had five layers: the bottom layer is for drainage and catches the compost tea. The second layer is where you start by adding bedding (wet newsprint), worms with some earth, and food (plus a little Pro-Mix on top to curb the fruit flies). When your second layer fills up with worm castings, start adding food to the third layer. When that's full start adding food to the fourth layer.

When your topmost layer is full, you pull out the bottom layer and empty the worm castings. By this point, most of your worms should have moved to the upper layers and the casting are ready to be mixed with soil and used as slow-release fertilizer, or dried out for later use. Now your empty layer becomes the top layer where you can start adding food again and the cycle continues.
I think the whole group ended up feeling like elementary school students again as we were lead through the drilling by teacher Dave, and then got all giddy when he dumped out a bucket of worms onto the table. I certainly had fun. FoodShare will be hosting another workshop again in the future, so if you're interested keep an eye out on the events section of their website.
Photos by the author.
Latest Videos
Latest Videos
Join the conversation Load comments